
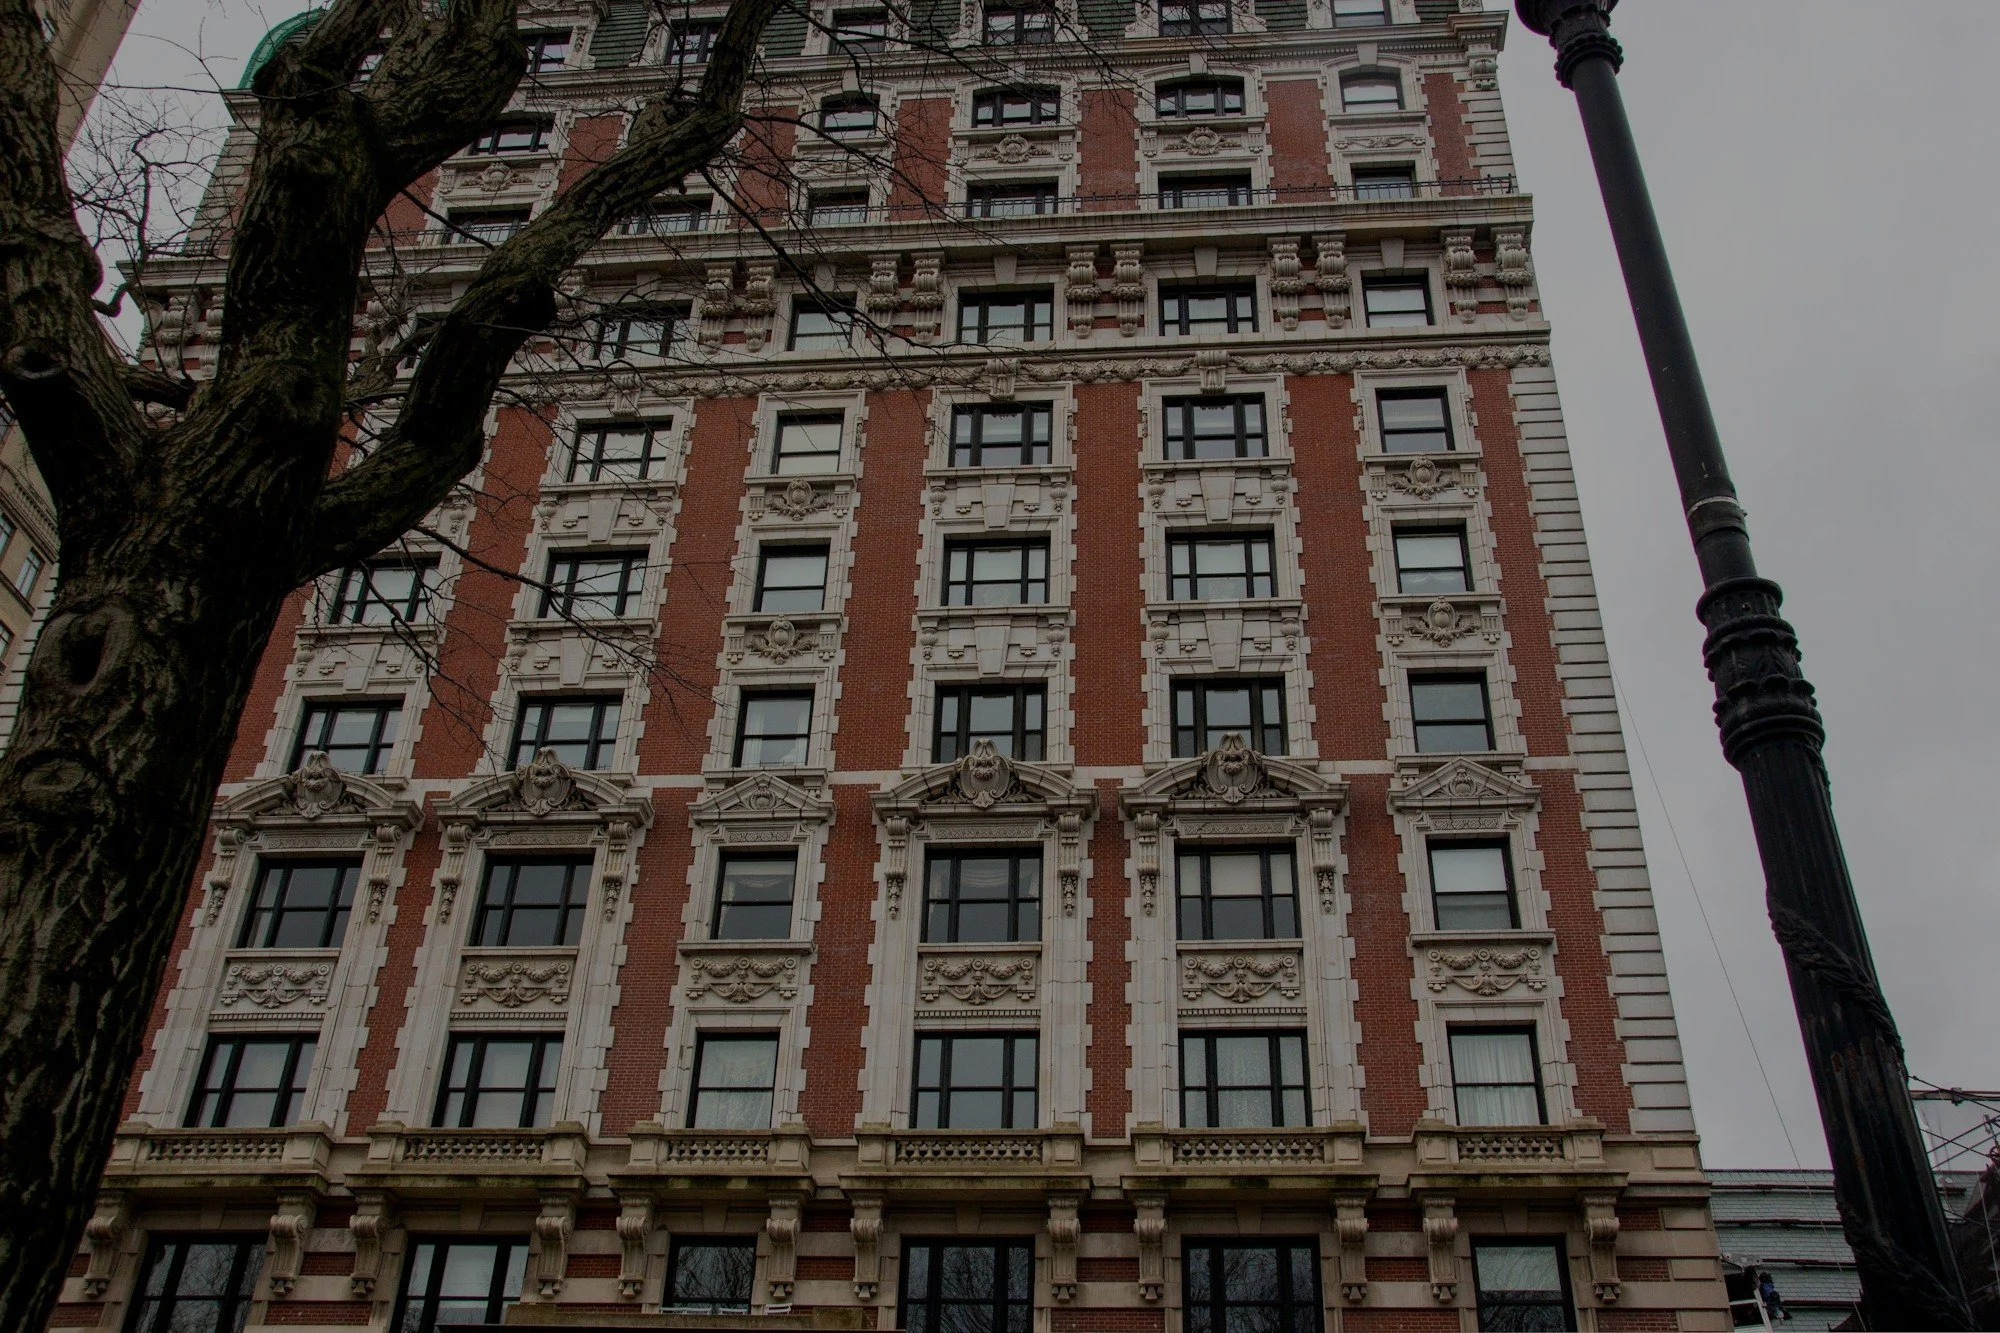
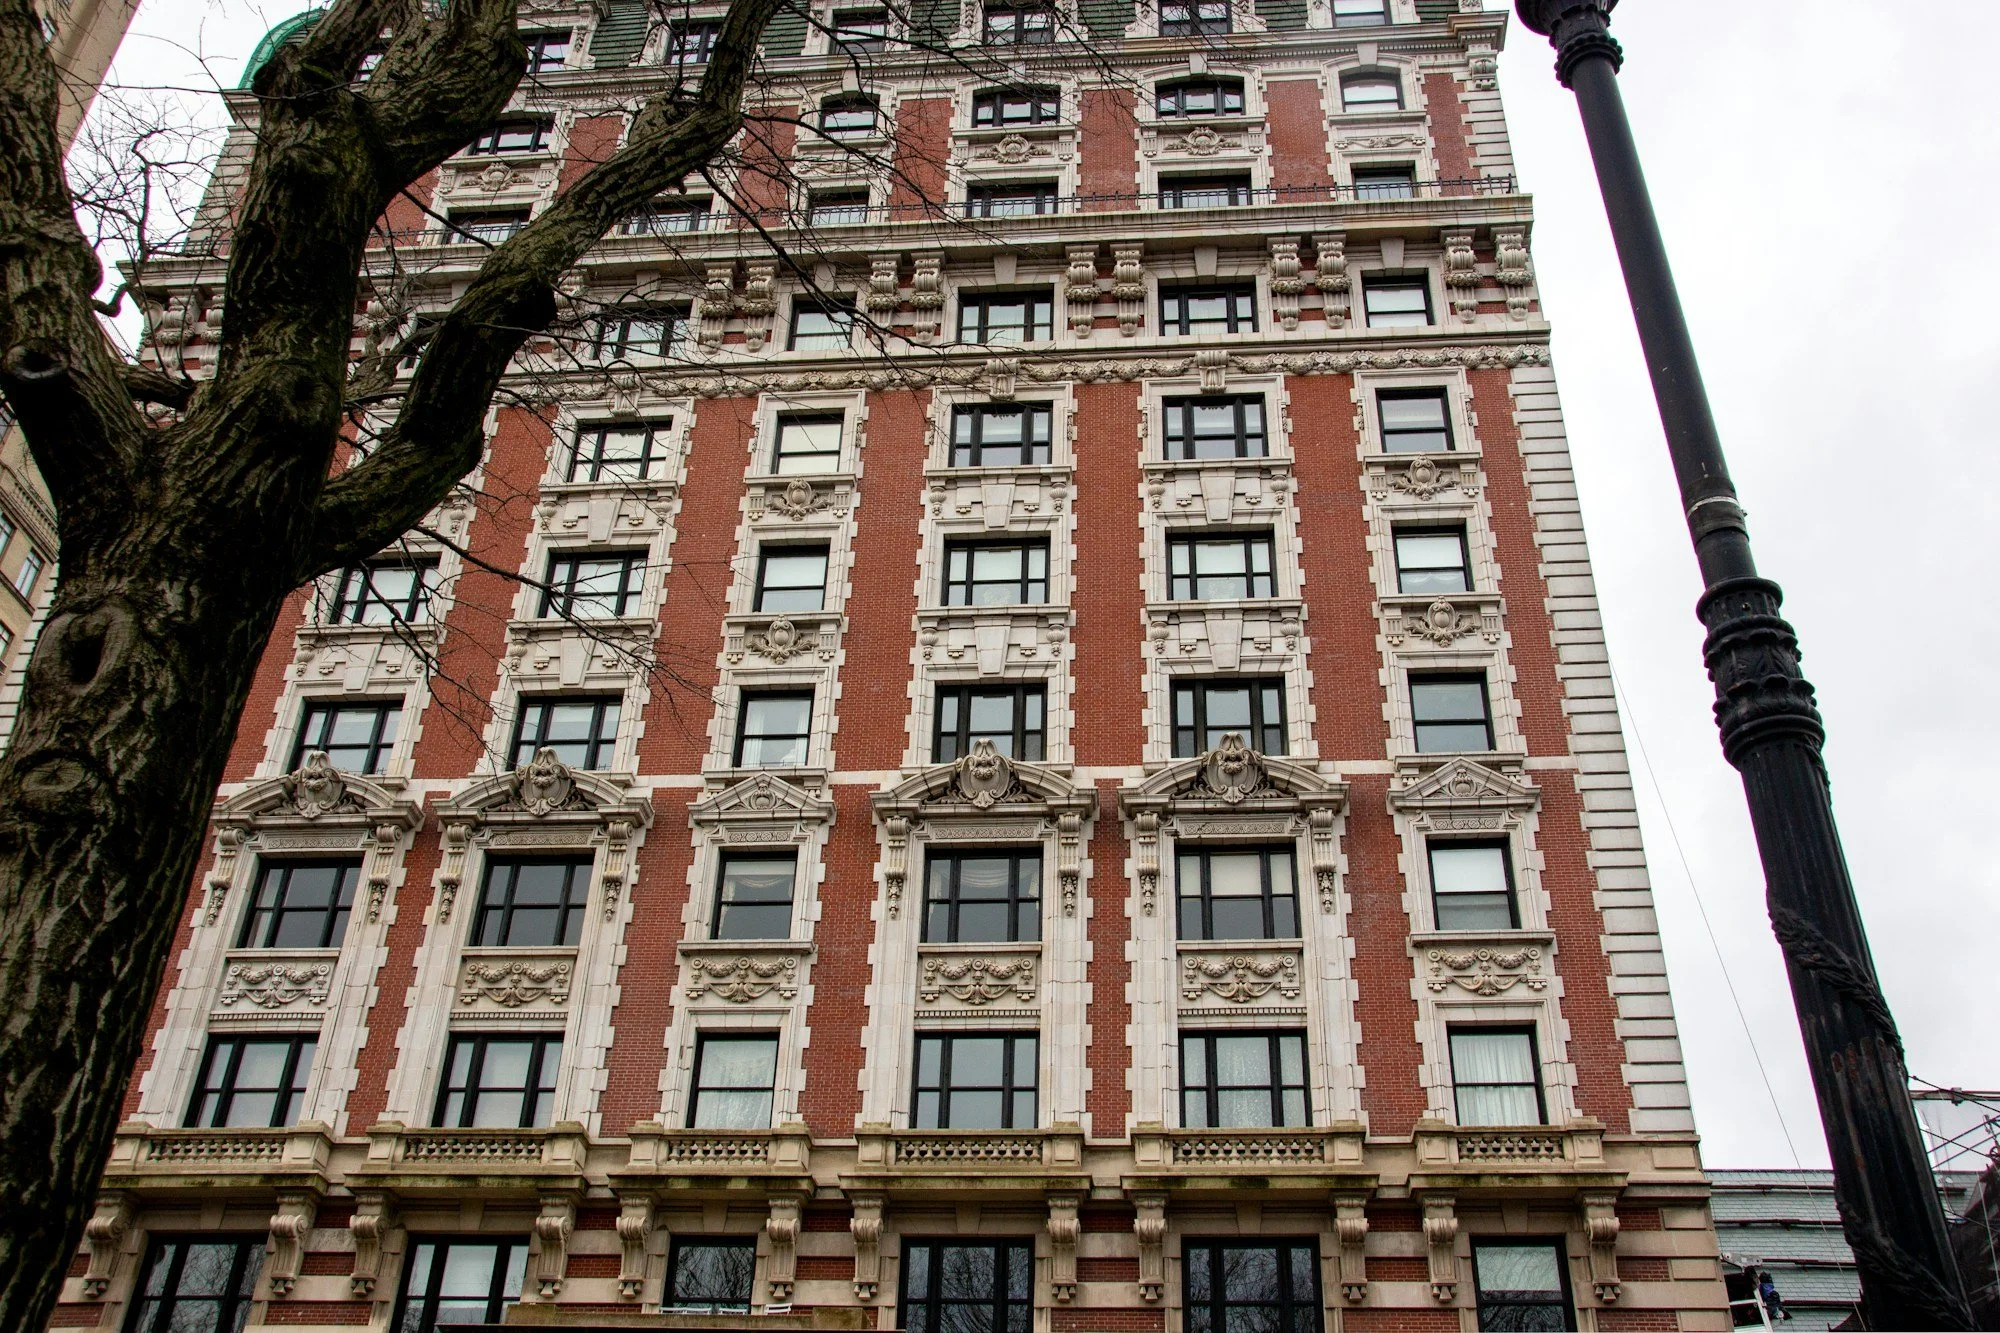
A pre-war apartment on the Upper West Side usually has more going on above eye level than people notice until the painters show up. Crown molding, picture-frame moldings on the walls, deep window casings, paneled doors, sometimes a plaster ceiling medallion or a beamed dining room. A century of repainting has softened a lot of that detail already. A careless repaint softens it a little more, and the one after that a little more again.
This post is about painting those apartments without losing what makes them worth living in. If you want numbers first, our Upper West Side guide to wall, ceiling and trim costs breaks a quote down surface by surface, and our Manhattan apartment painting cost guide gives the bigger picture. Here we're talking about decisions: what to keep, what to strip, what to repair, and what to leave alone.
What "pre-war detail" usually means on the West Side
The Landmarks Preservation Commission designated the Upper West Side/Central Park West Historic District on April 24, 1990 (LPC district map). It covers roughly 2,000 buildings from 62nd to 96th Street along Central Park West and into the side streets. West of Broadway, the Riverside-West End Historic District was designated on December 19, 1989 (LPC district map) and extended in 2012 and 2015 (Historic Districts Council). Landmark West describes the older district as a concentration of buildings put up between the opening of the Ninth Avenue elevated line in 1879 and the Great Depression (Landmark West): rowhouses, French flats, tenements, Beaux-Arts apartment houses, and the big apartment buildings and apartment hotels of the 1920s and early 1930s.
That range matters to a painter. A brownstone floor-through, a 1905 apartment house on West End Avenue and a 1930 tower on Central Park West all count as "pre-war," but the trim, the plaster and the paint history are different in each. The walkthrough is where we figure out which one we're in.
Landmark status is mostly about the outside of the building. LPC's permits page says interior work needs an LPC permit only if it also needs a Buildings Department permit, affects the exterior, or is in a designated interior landmark. The Buildings Department lists painting and plastering among work that doesn't need a permit. So inside your apartment, the rules come from your co-op or condo, not from LPC. Our post on painting a pre-war Upper East Side co-op covers alteration agreements, work hours and protecting the building. The same paperwork applies across the park.
Start with an inventory, not a color
Before anyone talks about colors, walk the apartment and list the detail room by room. We look for:
Crown and cornice molding. Is it plain run plaster, or does it have enrichment like egg-and-dart, dentils or leaves? Are the recesses still crisp, or have they filled in?
Picture-frame moldings and picture rail on the walls of the living and dining rooms.
Ceiling medallions, beams and coffers.
Door and window casings, baseboards and paneled doors. Count them. They're priced by the piece.
Original hardware: hinges, knobs, escutcheons, window sash locks and lifts.
Wood that has never been painted. Some apartments still have stained or varnished doors, built-ins or paneling.
Windows: wood sash that works, or sash painted shut years ago.
Write the list down and walk it with the painter. It becomes the scope. It also stops the most common way detail gets lost, which is nobody deciding anything and the crew painting everything the same way.
Molding: keep the shadow lines
Molding works because of shadow. Every coat of paint makes the recesses a little shallower and the edges a little rounder. After enough coats, egg-and-dart reads as a lumpy line and a sharp cove looks like a rounded bead.
On a repaint, protecting that detail is mostly about technique:
Brush the molding, don't roll it. A roller pushes paint into the recesses and leaves texture on the flat parts.
Keep the coats thin. Two thin coats hold detail better than one heavy one.
Go easy on caulk. Caulk belongs in the joint where molding meets the wall or ceiling. It doesn't belong in the molding itself, filling the gaps between details.
Use a paint that levels. Many painters use a waterborne alkyd on trim because it flows out smooth. Benjamin Moore's Advance, for example, needs 16 hours before a second coat (Benjamin Moore technical data sheet), so trim in two coats takes at least two days. Plan for it.
If the molding is already clogged, the question is whether to strip it. The National Park Service's Preservation Brief 28 on painting historic interiors is a good guide here. It says that "sometimes paint on an architectural feature needs to be removed if it obscures delicate detailing," but that "for the most part... if the surface is intact... the existing paint can be overpainted." We agree with that order. Strip where buildup is actually hiding the design, and overpaint everywhere else.
Stripping a cornice is slow, careful work, and it should be its own line on the quote, priced by the foot, with a test section first. In a pre-1978 apartment it's also lead work, which we cover below.
Ornamental plaster: know when to call a specialist
A painter can fill a hairline crack in a plain cornice. Broken or missing ornament is a different trade. The Park Service's Preservation Brief 23 on ornamental plaster says plainly that ornamental plaster repair "is a craft requiring years of training and experience," and that a qualified professional should identify which details can be repaired in place and which need to be removed for repair or remade in a shop.
For a homeowner, that means two things. First, if a run of cornice is missing or a medallion is cracked through, get a plaster restorer to look at it before the painters start, and do that repair first. Second, be careful with anyone who offers to "fill in" missing ornament with joint compound. It won't match, and it won't hold the way plaster does. Brief 23 describes how a missing length of cornice is remade: a metal template cut to the exact profile, and new molding run in plaster to match.
Flat plaster is more forgiving. The Park Service's Preservation Brief 21 says hairline cracks "are not a serious cause for concern as long as the underlying plaster is in good condition." Loose or bulging plaster has to be reattached or replaced before it's painted. Hoboken Painter's guide to painting brownstone plaster walls walks through the same steps for rowhouse plaster: open the crack, fill it, reattach loose sections, and skim-coat only where patching has built up.
Be careful with skim-coating near detail. A full skim coat makes a wall flat and smooth, which is fine in a hallway. Brought right up to a picture-frame molding or a cornice, it can bury the bottom edge of the profile. Ask the painter to stop short of the molding and feather the edge by hand.
Ceilings that peel in sheets
If your ceiling has big curls of paint hanging off it, there may be old calcimine underneath. Calcimine, also called distemper, was a soft water-based paint widely used on plaster ceilings. Brief 28 explains the problem: "When a stronger paint is applied over a weaker paint, it will tend to pull off any weaker paint which may have begun to lose its bond." On many old ceilings where oil paint went over calcimine, it says, "large strips of paint may be peeling."
You can't fix that by painting over it again. The loose paint has to come off down to a sound layer. Brief 28 notes that calcimine can be washed off with hot water, and that where some remains as a chalky surface, a coat of white shellac gives the new paint something stable to grip. That's more work than a normal ceiling. A quote for a peeling plaster ceiling in an old building should say how it will be handled. A quote that just says "scrape and paint" will probably be back to peeling in a few years.
Wood that was never painted
Some Upper West Side apartments still have original stained or varnished woodwork: a library, a set of pocket doors, a dining room built-in. Brief 28 notes that by the end of the nineteenth century, "stains and clear finishes were preferred over opaque paints" for interior woodwork.
Painting over stained wood is a one-way decision. Getting paint back off a varnished door is slow, and it rarely looks the same afterward. If you have original clear-finished wood, think hard before painting it, and if you do paint it, start with one piece you can live with. Refinishing worn varnish is a different job from painting, so ask for it separately.
The reverse also happens. Brief 28 points out that historic doors "may have graining patterns or clear finishes under one or several coats of plain paint." If a door looks oddly heavy with paint, a small test patch at the edge can show what's underneath before you decide.
Hardware and windows
Hardware is the easiest detail to lose and the easiest to save. Painted-over hinges and knobs are one of the clearest signs of a rushed job in an old apartment. We take hardware off before painting doors, label it by door, and put it back after the paint has cured. Knobs, escutcheons and sash locks come off. Hinges usually get masked if pulling them would disturb the door. Hardware that's already buried in paint can often be removed and cleaned, so ask for that as a line item instead of painting over it again.
Wood windows need the same care. Paint on the sash edges and in the channels is what glues windows shut. A good window job keeps paint off the sliding surfaces, moves the sash while the paint is still drying so it doesn't stick, and leaves the window working. If your windows are already painted shut, freeing them is more work and is lead-sensitive in an older building, so make it its own item.
Lead: the rules that shape how detail gets stripped
Pre-war trim very often has lead paint somewhere in its layers. Brief 28 notes that in "virtually all paints made before 1950, the white or 'hiding' pigment was a lead compound." That matters most on exactly the surfaces this post is about: molding, doors, windows and casings.
Federal rule. In homes built before 1978, paid work that disturbs more than six square feet of interior paint per room generally has to be done by an EPA-certified firm using lead-safe practices. Window replacement is covered no matter the size (U.S. EPA).
Methods that are off the table. Federal rules ban open-flame burning or torching of painted surfaces. They also ban power sanders and grinders unless they have a shroud and a HEPA vacuum attachment, and they limit heat guns to below 1,100°F (40 CFR 745.85). Brief 28 adds a preservation reason to avoid open flame: propane torches "can damage historic wood features."
City guidance. New York City's housing agency advises lead-safe practices in pre-1978 buildings when work disturbs 2 square feet or more of paint in a room. It also tells painters not to dry-scrape paint, because it creates dust (NYC HPD safe work practices).
In practice, that means stripping detail in an old apartment is chemical stripping or careful wet hand work, inside plastic containment, with HEPA cleanup. That's slower and more expensive than people expect. It's also the only legitimate way to do it. If you're comparing quotes for stripping molding or doors, ask each painter how they'll do it. If the answer is a heat gun and a scraper with no containment, keep looking.
Color and sheen that work with the detail
Detail shows best when the trim reads as trim. The usual approach is a flat or matte finish on walls and ceilings and a higher sheen on trim, so the light catches the molding edges. A slightly different white on the trim, or a wall color one step deeper than the trim, does the same thing. A single color and sheen over everything flattens a room.
For palettes, NYC Painters has a guide to Upper West Side apartment colors for classic doorman buildings that works room by room, including how park light and courtyard light change the same color. Whatever you pick, paint large samples and look at them at different times of day before you decide.
How detail changes the quote
Detail work is mostly labor, and it adds up in ways a per-room price hides. Brushing enriched molding is slower than rolling a wall. Stripping is slower still. Removing and labeling hardware, freeing windows and handling lead all add hours. A good quote for a pre-war apartment lists these separately:
Walls and ceilings, with plaster repair described.
Trim by type: crown, picture-frame moldings, baseboards, casings, doors by count.
Any stripping, priced by section, with a test area first.
Ornamental plaster repair, if any, by a plaster restorer.
Hardware removal, cleaning and reinstall.
Window work, if any.
Lead-safe setup and cleanup.
For a rough budget before anyone visits, the NYC Painters apartment painting cost calculator gives a starting range by apartment size, and NYC Painters' 2026 guide to apartment painting costs in NYC goes into more detail on what drives the number. Expect a detailed pre-war apartment to come in above a basic range. Our West Village post explains how prep, detail and access add time in older apartments, and most of it applies here too.
A checklist before the painters start
Walk the apartment and list the detail room by room: molding, picture rail, medallions, casings, doors, hardware, windows, unpainted wood.
Decide which molding gets stripped, which gets overpainted, and which gets repaired by a plaster restorer, and put it in writing.
Get broken ornamental plaster repaired before painting, not after.
Ask how any peeling ceiling will be handled, down to what primer goes on.
Confirm hardware will be removed and labeled, not painted over.
Ask how windows will be kept working.
Ask how lead-safe practices will be handled on trim, doors and windows.
Check your building's alteration agreement and work hours.
Getting a scope you can check
If you'd like us to walk your apartment and write up the detail line by line, request a free estimate. Photos of the moldings, the ceilings and any peeling areas help us give you a useful first answer. You can also read more about our apartment painting work in Manhattan.